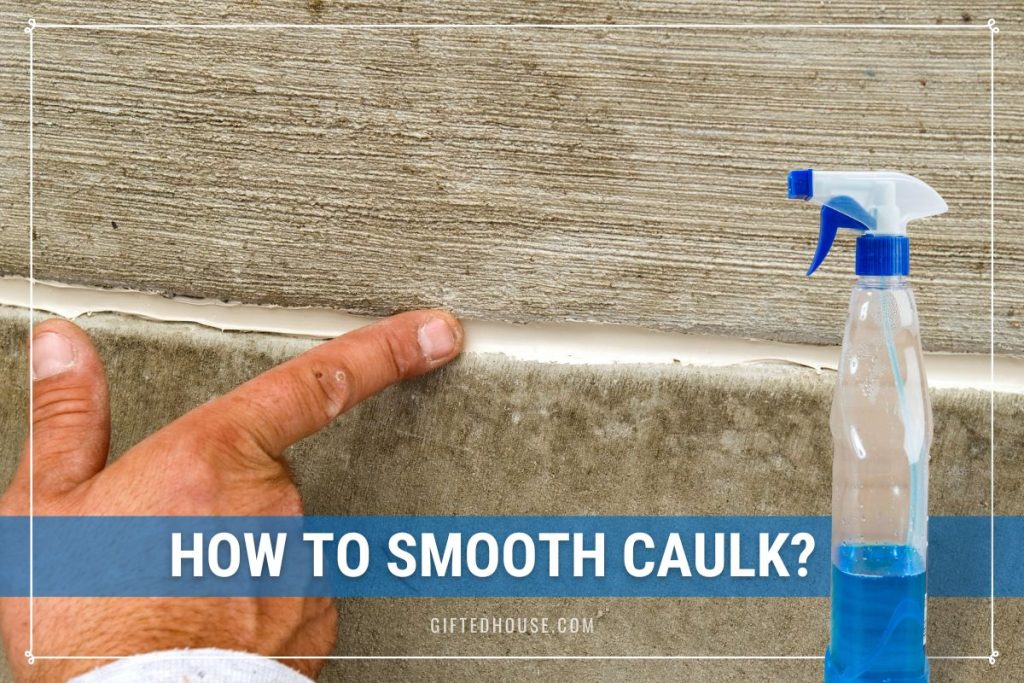
Silicone caulk is one of the best sealants to use around the bathtub, tiles, and other areas where moisture is present. It is quite flexible, moderately easy to apply, and adheres to most surfaces so that it will grab the substance firmly and create a waterproof seal.
However, the very stickiness that makes it great to apply also makes it difficult to smooth using methods that work with acrylic caulk.
So, how can silicone caulk be smoothed across a surface if it is so sticky?
1. Smooth Silicone Caulk with Windex
You may find this surprising to believe, but Windex offers a great solution for smoothing out silicone caulk. That’s because one reason silicone caulk is so sticky is that it is not water-soluble.
And while that is a positive when sealing cracks and areas to make them waterproof, the very stickiness of the substance means that using plain water is not going to work.
Why Use Windex?
Windex contains water only as a liquid base, but the main ingredients are chemicals that create a film when it encounters silicone. The result is a slippery layer between the silicone and your fingers or tools that you use to smooth it on a surface.
Windex will also not affect the silicone, so once it is in place, you can let it dry or wipe away the residue, and it will work just fine. But you will need to know how to apply it properly if you want the best results.

Windex Trick: How to Smooth Silicone Caulk with Windex?
Precaution: Do not spray Windex glass cleaner on the surface of the area where you are applying the silicone caulk.
The Windex itself is a good cleaning product. But you should not use it for prepping the caulking surface. Just as Windex will create a thin, slippery film on your fingers or tools, so too will it create the same film on the surface when the silicone is applied.
Step 1: Clean the Surface: Take a dry towel and clean the area where the silicone caulk will be applied. This means removing any loose particles that may be in the crack or space that the silicone will fill.
If there is grime or substances that cannot be removed with a dry towel, then use soap and water or another cleaner and scrub the grime away. Wash or clean the surface with a damp cloth to remove the residue. Then let it dry.
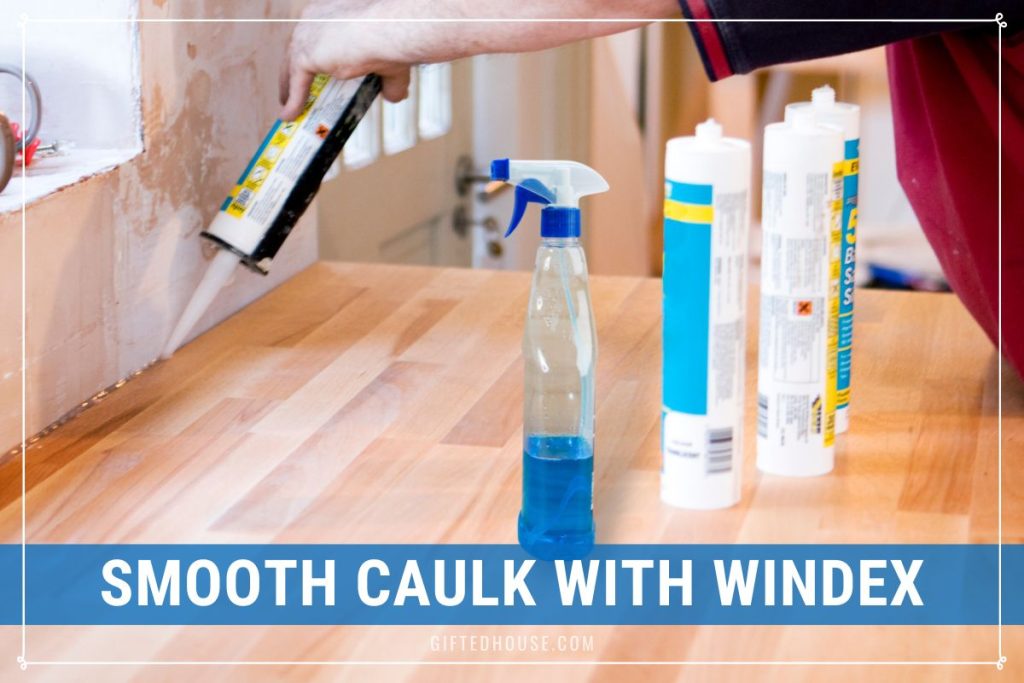
Step 2: Apply the Silicone Caulk: Now that the surface is dry, load your caulking gun and apply the silicone caulk. This website has detailed instructions on loading the caulking tube.
Try to keep the bead of caulk as smooth as you can when applying it. This will minimize the smoothing out you will need to do afterwards.
Step 3: Spray Windex: You might spray the Windex on the caulk itself, but spraying on your fingers or smoothing tool is also fine. You do not need to spray much, just enough to make the surface of your fingers or tool wet with Windex.
Step 4: Apply and Smooth: Now, apply your fingers or smoothing tool to the silicone caulk bead. You may notice a film that makes the silicone slippery as you smooth it out. Keep in mind that the Windex is not affecting the caulk itself; it is merely creating a thin film on the top of the bead.
Keep smoothing until you get the desired results. Remember that it is generally better to add a little too much caulk than not enough. Otherwise, you will have to wait for the Windex to dry or be dabbed away before you can apply more silicone caulk.
I do not recommend caulking over existing silicone caulk after it is cured. The new layer will not adhere properly to the old sealant layer.
Step 5: Let Dry: Now, you can dab some of the Windex away with a dry towel, but the contents of the Windex will also allow it to dry and evaporate rather quickly.
You should test the caulk well after it dries to ensure that it is sticking to the surface properly. In most cases, you should be fine since silicone caulk is very sticky when wet, but once it is cured, the outer surface is smooth and free of adhesion.
But what if you do not have Windex handy or perhaps you do not feel comfortable using a cleaning chemical? If that is the case, then you do have some viable alternatives.
2. Use Rubbing Alcohol
Rubbing or denatured alcohol works on the same principles as Windex. The alcohol creates a slippery film when it contacts silicone, just like Windex.
Plus, rubbing alcohol is quite cheap and affordable. You probably have some in your home already.
What you will need to apply the denatured or rubbing alcohol is a spray bottle, which can be obtained quite inexpensively at many retail stores. Simply pour a small amount into the bottle, spray it on your fingers or over the caulk bead, and then run your finger or smoothing tool over the bead before it dries.
In other words, you use the same techniques with rubbing or denatured alcohol as you would Windex. That same approach will provide the same results. But first, check the label of the silicone caulk that you use to ensure that alcohol will not have a debilitating effect. It should not, but as with Windex, you do not want to spray it on the adhesion surface before you apply the caulk.
The main advantage of rubbing alcohol is that it evaporates quickly and leaves little to no residue behind. Once you have smoothed out the caulk to your liking, just let it dry on its own.
3. Use Water and Soap
If you do not want to apply alcohol or Windex to your fingers or smoothing tool, you can use soap and water. All you need is a bowl of water and some dish soap.
While water on its own will not work, adding a little dish soap will create a slippery layer. Although not quite the same as the effect the Windex has, soapy water will create enough of a layer to allow you to smooth out the caulk.
You can even use bar soap simply by wetting your fingers first, then sliding them across the bar soap. This will create a slippery layer that will allow you to smooth out the caulk the way you want. The only downside is that the soap will leave some residue behind. So you will need to wash away the residue once the caulk is dried and cured.
